December 13th 2023
–
Wellness Mama Blog | Simple Answers for Healthier Families
–
Today I’m talking with astronaut Mike Massimino and we go a lot into mindset, practical life advice, and what he’s learned through his experiences. Mike was a NASA astronaut from 1996 to 2014 and flew on two separate space shuttle missions. He was also the first human to send the first tweet from space, was …
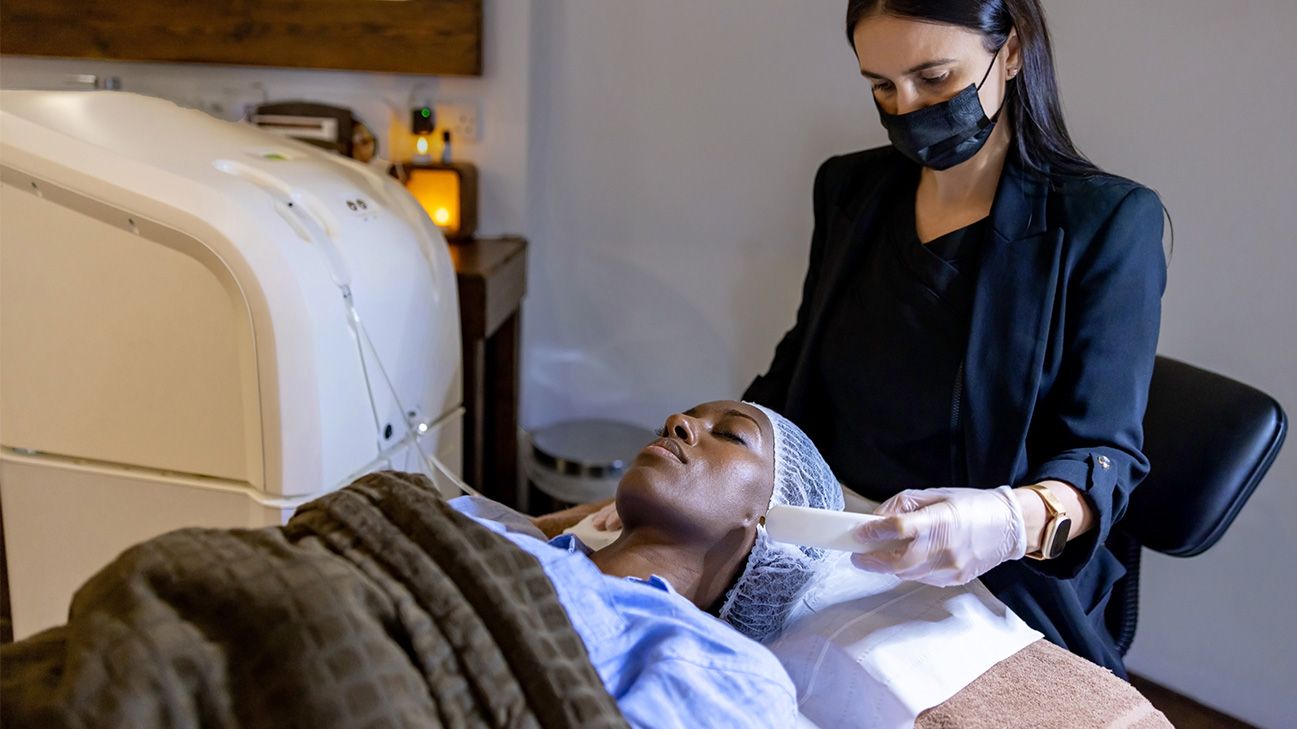
Discover the rejuvenating benefits of a lymphatic drainage facial — a treatment that helps address puffiness and revitalize the skin. Beyond its aesthetic appeal, this practice is recognized for its holistic approach to promoting overall skin health.
Let’s dive into the world of lymphatic drainage facials, exploring the secrets behind achieving a radiant complexion and a renewed sense of well-being.
Photography by Andresr/Getty Images
Health benefits of lymphatic drainage facial
Does draining your lymphatic system really improve your well-being (especially in your face)? Here are some health perks you might experience from applying lymphatic drainage massage to your most visible body part.
Could decrease enzymes linked to muscle damage
According to a 2009 systematic review, manual lymphatic drainage techniques lowered levels of blood enzymes associated with muscle damage. If you’ve experienced damage to the muscles in your face (such as from surgery or injury), it’s possible this treatment could help them repair.
May reduce swelling
The same 2009 research indicated that people also had less edema (aka swelling) when treated with manual lymphatic drainage. Just keep in mind that the study focused on ankle sprains and wrist fractures, not facial swelling.
Increases blood flow
When you or an aesthetician performs lymphatic drainage massage on your face, you’ll boost blood flow to the area. This might be especially true if you use a facial roller. A small 2018 study found that using a facial roller increased blood flow in the short term and vascular dilation response in the long term.
Beauty benefits of lymphatic drainage facial
So far, there’s limited evidence around the beauty results of lymphatic drainage facials. There’s not much to link them to minimizing breakouts or erasing eye bags, for example (no matter what a medspa’s website says). In general, though, any face-prettifying benefits of this procedure are probably connected to its health benefits.
Could reduce puffiness
As lymphatic drainage calms swelling, the natural result is less puffiness. This applies on any part of the body, including the face.
Might be useful after injectables
Do you feel like your face is looking a bit funky after Botox or other injectables? According to 2023 research, manual lymphatic drainage could mitigate complications after facial procedures like these.
Could calm eye swelling
The above research also concluded that lymphatic drainage was especially helpful for reducing eye swelling after eyelid lifts.
Where to get a lymphatic drainage facial
Wellness centers, aesthetics practices, traditional Chinese medicine practitioners, and spas all may offer lymphatic drainage facials — it really just depends on what’s available in your area. Like many other facials, you’ll likely be able to choose the time length of your treatment (typically 30-60 minutes).
Price varies a lot by location, too. Generally you can get a lymphatic drainage facial for anywhere from $75–$200.
Can I give myself a lymphatic drainage facial?
Fortunately, lymphatic drainage doesn’t actually involve draining fluids out of your face. (Phew!) It’s more like a specialized massage — meaning you can try it on yourself without fear of physical harm.
Here’s how:
Sit, stand, or lie down in a comfortable, quiet place where you won’t be disturbed.
Place a few drops of good-quality facial oil on your fingers.
Beginning at the bottom of your face (the chin), massage your skin in circular motions. (You can also use a face roller.)
Knead your skin gently, using your fingertips to apply pressure and continuing to work upward in circular motions until you’ve covered your entire face.
Takeaway
A lymphatic facial massage may not be the right treatment for conditions like acne or wrinkles, but it holds some promise for reducing puffiness and increasing circulation. And really, who can argue with a calming massage to the face? No matter the results, you’ll probably come away from a manual lymphatic drainage session feeling relaxed.
Read the full article here:
https://greatist.com/health/lymphatic-drainage-facial
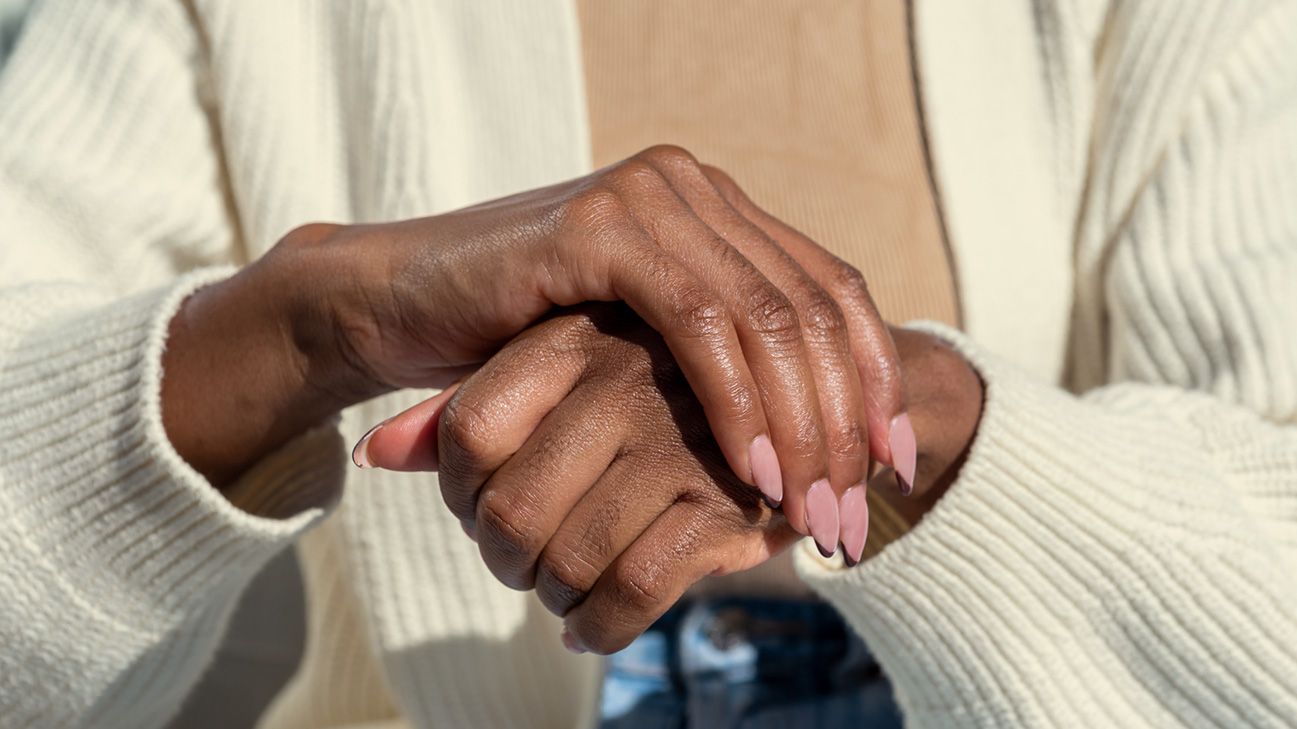
While there may not be a CrossFit for fingernails, many cost-effective strategies exist to achieve fabulous nails. Here are 10 tips to enhance the strength and appearance of your nails.
Photography by Bisual Studio/Getty Images
Ten tips to strengthen your nails
Maintain a balanced, nutrient-rich diet
Bring on the biotin
Stay hydrated
Don’t over-soak your nails
Avoid chipping your nails
Take a breather from nail polish
Watch what products you use on your nails
Avoid gel polish and acrylic nails
Moisturize your hands
Maintain shorter nails with gentle filing
1. Maintain a balanced, nutrient-rich diet
The first step to strengthening your nails is from the inside. Like the rest of your body, your nails will benefit from a well-balanced diet rich in nutrients. Toss in a multivitamin to cover your bases, but talk to your doctor to ensure your supplements don’t clash with any prescription meds you might be taking.
2. Bring on the biotin
One specific addition to your diet that helps strengthen your nails is biotin. Found in foods like eggs, legumes, and sardines, biotin also helps strengthen your hair. Since biotin is a water-soluble vitamin that gets flushed out of your body, consider taking a biotin supplement daily.
3. Stay hydrated
Your nails thrive when they’re hydrated, so keep the water flowing. Have a water bottle handy and maintain a steady drinking pace throughout the day. Think of your nails like thirsty houseplants that need to keep drinking water to survive.
4. Don’t over-soak your nails
Even though drinking water is excellent for your nails, submerging them in water too often can render them weak and brittle. It’s hard not to get your nails wet, especially if you’re mindful to wash your hands often. But if you’re washing the dishes or cleaning the house with chemicals, try wearing cotton-lined gloves. If you love to soak in a nice long bath, let your digits dangle outside the tub as much as possible.
5. Avoid chipping your nails
You might want to change course if your nails are your favorite can opener. Spare your nails the heavy lifting, and let tools or other gadgets handle the grunt work. Treat yourself to a nice multitool to open up that La Croix.
6. Take a breather from nail polish
Though painting those claws can offer hours of bedazzling fun, nail polish smothers and weakens your nails. Let those digits breathe occasionally by going nail-polish-free every other week.
Pro tip for your tips: Ask your manicurist to leave your cuticles as they are. Cuticles help to seal your nails to your skin, preventing bacteria from growing and protecting you from infection.
7. Watch what products you use on your nails
If you gotta have some nail glam, reach for non-toxic polishes and acetone-free removers. Try to avoid harmful chemicals in daily nail care products that the FDA has flagged.
For instance, some nail hardeners contain formaldehyde (sometimes called “formalin” and “methylene glycol”), which bonds with the keratin in your nails and helps strengthen them in the short term. But keep in mind that using hardeners too often can make your nails brittle.
And be mindful of using other products like shampoos for oily hair or alcohol-based hand sanitizers too often. These products are designed to dry out your skin, so your nails will get parched, too.
8. Avoid gel polish and acrylic nails
Gel polish or acrylic nails will cause your nails to weaken and peel if you use them too often. If you can’t resist the shiny appeal, give your nails a breather between applications. Aim for one week of glam followed by one week of au natural.
Bonus tip: Slap on sunscreen before exposing your hands to the UV needed for gel polish application.
9. Moisturize your hands
If your hands feel parched on a dry day or after removing your nail polish, indulge in hand cream love. Better yet, make moisturizing your hands a post-handwashing ritual.
10. Maintain shorter nails with gentle filing
Keep those nails on the shorter side. Long nails are like high-maintenance friends — more prone to breakage and entanglements. (No judgments here.) Short nails still chip and crack less often.
To help keep your nails strong, avoid filing them in that back-and-forth lumberjack sawing motion. Instead, go for an easy, one-direction motion. Sing a One Direction song while you do it if you need a mnemonic device to remember how to handle your nails with care.
Talk to your doctor
If you notice that these lifestyle changes aren’t helping you keep your nails strong, you might want to talk to a skincare advisor or a dermatologist. Be on the lookout for signs of a more severe condition, like:
swelling
pain
bleeding
discoloration under the nail
separation of the nail from your skin
Changes in your nail health can indicate some more severe health conditions.
Takeaway
You can strengthen weak nails with simple lifestyle changes:
Maintain a balanced diet, stay hydrated, and supplement with biotin.
Keep nails dry externally, avoid using them as tools, and let them breathe without polish regularly.
Skip gels, acrylics, and products with acetone or formaldehyde.
Keep nails short and cuticles intact to prevent infections.
Monitor for any unusual discoloration or swelling indicating potential health issues.
Read the full article here:
https://greatist.com/health/how-to-strengthen-nails
December 12th 2023
–
Wellness Mama Blog | Simple Answers for Healthier Families
–
I think it’s safe to say almost all of us have had a cup of hot cocoa at some point. When I was younger that meant a package of hot chocolate mix stirred into water with some corn syrup laden marshmallows on top. While the kids and I enjoy regular hot chocolate I wanted to …
I love a 30-minute meal and I love curry, so I put the two together for this Red Curry Chicken Skillet. Boneless, skinless chicken thighs make an excellent and easy-to-prepare protein source and they acquire tons of flavors from all the delicious herbs and spices in this recipe.
Red curry paste offers plenty of medicinal benefits, from anti-inflammatory and immunity-supporting properties to boosting digestive and circulatory function.
I love adding in green beans and layering it over a bed of cauliflower rice for additional fiber and phytonutrients.
Wishing you health and happiness, Mark Hyman, MD
Ingredients:
Chicken Curry
8 boneless, skinless chicken thighs cut into 2-inch pieces
1 large shallot, thinly sliced
3 tablespoons gluten-free red curry paste
1 (13.5-ounce) can light coconut milk
2 cups halved green beans
10 large basil leaves
Salt to taste
Cauliflower RIce
1 ½ tablespoons avocado oil
4 garlic cloves, minced
3 ¾ cups frozen cauliflower rice (a 16-ounce bag)
Salt to taste
Pickled Shallots
1 large shallot, thinly sliced
1 large lime, juiced
Garnish (optional)
Lime wedges
Fresh basil leaves
Fresh cilantro
Thinly sliced fresh Thai red pepper (for heat)
Method:
1. Place 2 two large deep cast iron skillets over medium-high heat. Start with the chicken curry section of the recipe. Once the pan is hot, add the chicken thighs and brown on all sides for about 7 minutes.
2. While the chicken is cooking, move on to the cauliflower rice section. In the other skillet, add the avocado oil along with the minced garlic and sea salt and cook for 10 seconds, then make sure to add the cauliflower rice immediately so that the garlic doesn’t burn. Keep stirring until the cauliflower rice is ready, about 5 minutes.
3. While the chicken is still browning, make the pickled shallots by adding all of the ingredients into a bowl and mix everything together. Remove from heat and set aside.
4. To the chicken skillet, add the shallots, salt, and curry paste and stir for about 3 minutes until combined.
5. Add the coconut milk to the chicken skillet and bring to a boil; once boiling reduce heat to medium and cook for 7 minutes.
6. After 7 minutes, add the green beans to the chicken and cover the pan. Cook for 3 more minutes.
7. Remove from heat and add the basil. Stir, and serve over coconut rice, topped with optional garnishes.
Nutritional analysis per serving: Calories: 437, Total Fat: 24g, Saturated Fat: 7g, Cholesterol: 180mg, Fiber: 5g, Protein: 41g, Carbohydrates: 19g, Sodium: 802mg, Sugars: 7g, Net Carbs: 14g